
Create your first test
In this tutorial, you create a basic test that navigates to a webpage, validates the presence of specific elements, and captures a screenshot. This tutorial introduces you to fundamental Doc Detective actions that are essential for creating more advanced tests.
What is a test?
A test in Doc Detective is a series of steps, where each step performs a single action. An action can be navigating to a URL, finding an element, or taking a screenshot, for example.
What does this test do?
This test navigates to https://example.com, checks for the presence of the <h1> heading with the text Example Domain, and verifies that the Learn more link is present. It then clicks the link and captures a screenshot of the resulting page.
Prerequisites
Before you begin, ensure you have the following:
- Doc Detective installed.
- A text editor.
Steps
To create your first test, follow these steps:
-
In a terminal, navigate to the folder where you plan to create your test:
-
Create a new test file named
homepage-check.spec.json: -
Open the file in your text editor and paste the following code:
homepage-check.spec.jsonThis test uses the following actions:
goTo: Navigates to the specified URL, https://example.com, to start the test flow.find: Locates elements on the page using CSS selectors such as HTML tags likeh1ora, and validates their presence and text content.click: Clicks on the specified element, in this case, theLearn morelink.screenshot: Captures a screenshot of the current page and saves it to the specified path.
-
Save the file.
-
In your terminal, enter the following command to run the test:
NPX
Docker
By default, Doc Detective scans the current directory for valid tests, but you can specify your test file using the --input argument. For more information, see Run tests.
Outcome
After running the test, you should see the results in your terminal, which Doc Detective saves to a new file named testResults-UNIQUE_ID.json:
This output confirms that all the test steps passed successfully, and the screenshot was saved to the specified path.
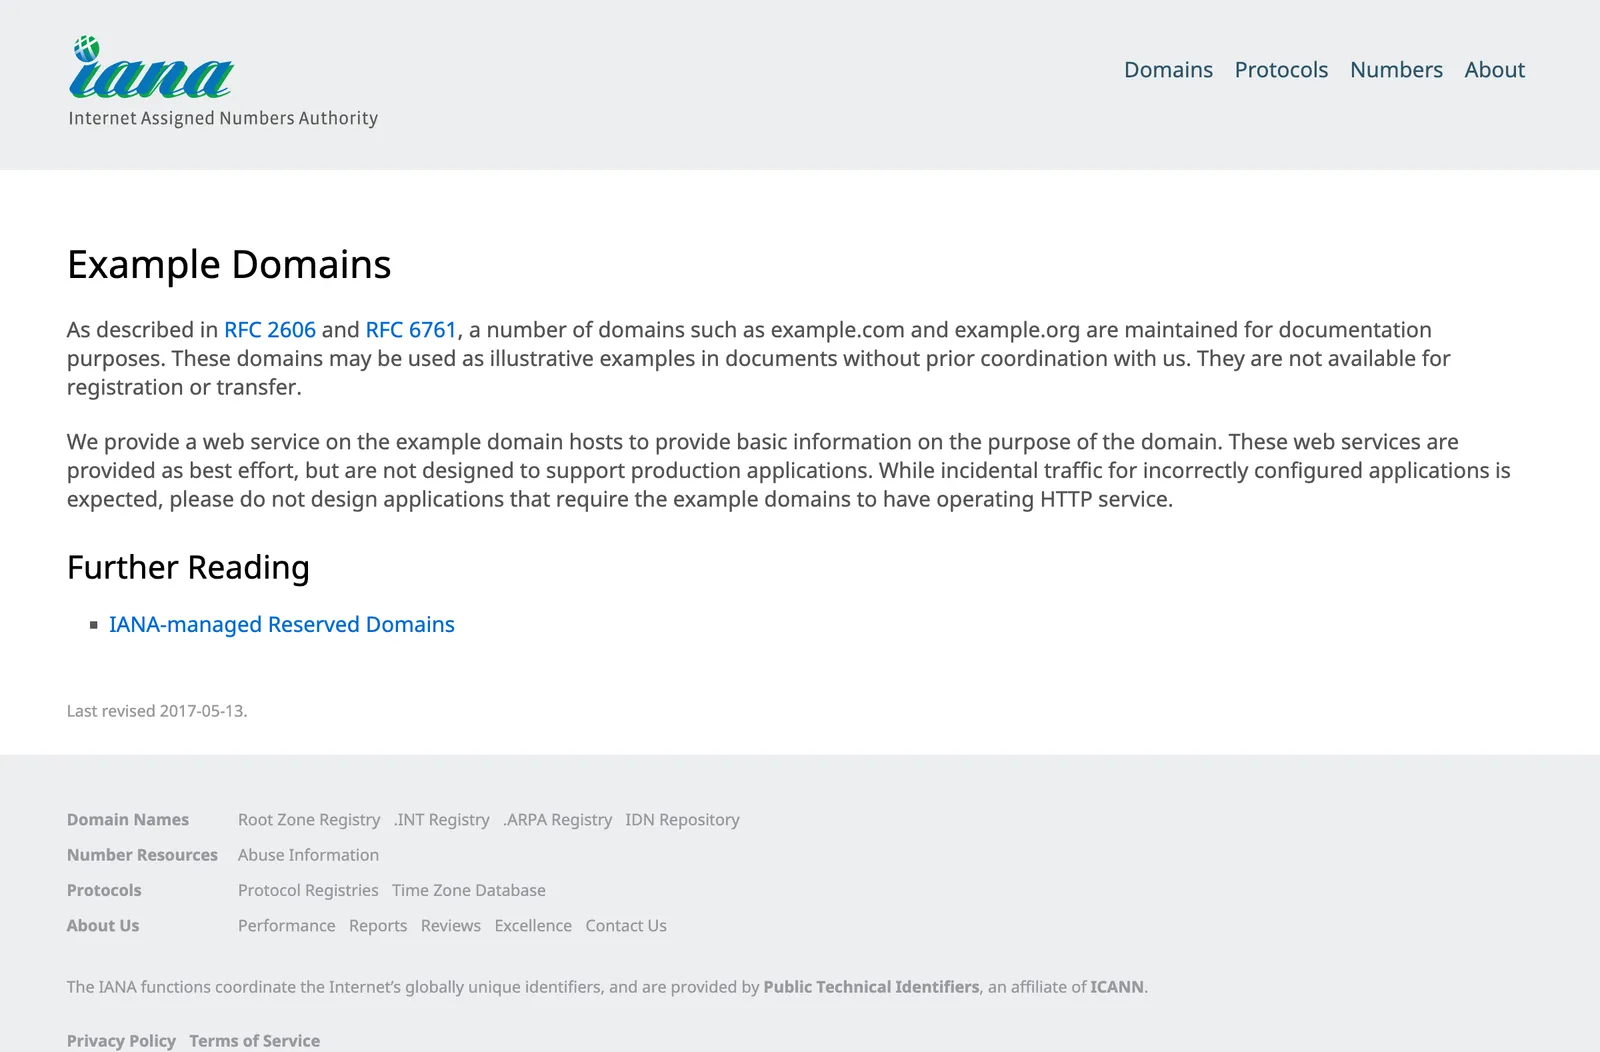
Additionally, you should see a new image file named example.png saved in your project folder. Open this file to view the captured screenshot of the page:
Next steps
- Explore sample tests to see more examples.
- Learn more about available actions to expand your test capabilities.
- Try modifying this test to check for different elements or add more steps.